Dan: Look at all of this firewood, where's my axe? I don't have an axe - I need to go get an axe!
Brittney: don't touch the big pieces, I want one of those
Dan: This is a man's job, you aren't chopping wood, especially not a big piece
Brittney: I want to make a table
Dan: You want what?
Brittney: to make a table
Dan: I need an axe...chopping wood makes me feel manly....a table? really?
Brittney: set aside all the big stumps so I can pick my table
Dan: *chop, chop, chop* gosh I'm manly, I should be a lumber jack
Brittney: I want this stump for my table, don't chop this stump
Dan: I'm such a man
Brittney: will you move this stump to the front of the garage?
Dan: I'm so manly, of course I will, it's what manly men do
Brittney: Thanks, you're so manly.
Ever want to get your husband to do something faster? Tell them how manly it is ;)
Back to the table...here is the play by play.
1. It started out as a normal tree stump, bark and all. After you determine the height that you need your table and find the correct tree stump - the first step in the process is to allow the stump to dry out completely. It sat in our garage for about 2 months, before I went to work on it, giving it plenty of time to dry out.
2. Remove the bark from the stump. My manly husband wanted to use his axe on this step, using an axe is really manly, after all :)
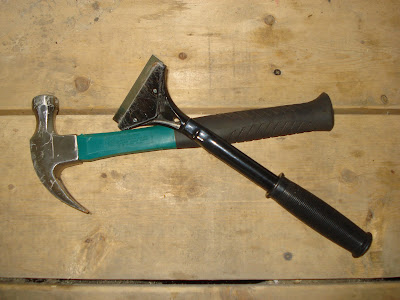
3. Convince manly husband that an axe is not needed for this step, smaller tools will do just fine. Continue to remove all of the bark from the stump.
Supervisor Paige agrees- the claw of a hammer works perfectly
4. (I forgot to take a picture of this step) Once all the bark is removed, using a medium and fine grit sandpaper, sand the entire stump until it is completely smooth. You should be able to run your hand over the surface and not feel any roughness or hairs.
5. Make sure the stump is level. My stump wasn't completely level, so my manly man of a husband used his grinder to grind it down and level it.
(apparently manly men wear socks with sandals ;) )
After it was level, I continued to sand the top to make sure it was completely smooth as well.
6. Wipe down the stump to remove all dust and dirt. I used tack cloth, but you could use a damp rag as well.
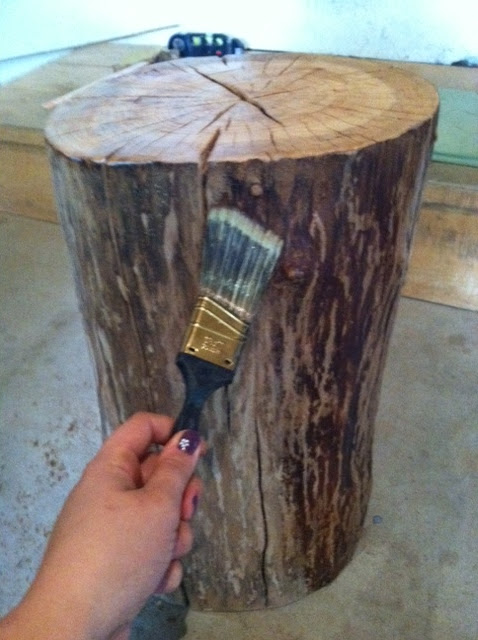
7. Apply the polyurethane. I used a semi-gloss finish to give it a little gloss, but you can use whatever finish you desire. I followed the directions on the polyurethane can for drying times and also gave the stump a light sanding between coats. I applied 6 coats of polyurethane to the top of the table and 4 coats to the sides.
8. Bring the table inside and enjoy the looks of a natural element in your home


The table looks great! I spent this entire post giggling. I have a manly man too ;)
ReplyDelete