Tuesday, March 15, 2011

Upholstering a Wooden Chair

I love Craigslist, it is my go-to when I am looking for a new project. So, as always it pulled through when I was looking for two chairs for our small kitchen table. In fact, it did one better, I found a new table along with the two chairs. Our previous table I picked up off of craigslist and I was going to refinish it to be black, but this new table came as a package with the chairs and was already black! Everything is in good shape, with the exception of the seats on the chairs, they were really scratched up. But, some simple upholstering will solve that problem.

Here is what the chairs looked like before:


Upholstering is one of my favorite things to do, it is so simple and makes a big impact! Here is the how-to:

Materials/Tools Needed:
- Foam (I used two inch foam, but you can use whatever size your bottom side prefers)
- Quilt Batting
- Spray Adhesive
- Fabric of your choice (thicker, upholstering fabric works best)
- Staple gun

Start with a chair that you can remove the seat of the chair from the frame of the chair.

Use the seat as your guide and cut the foam to be about 1/4" larger (on each side) than the seat itself. I'd recommend using an electric kitchen knife to cut the foam, but if you don't have one (I don't!) scissors work ok too.


You can see the edges of my foam are kind of jagged (due to cutting with a scissors) and that is ok :)

Using spray adhesive, spray both the seat of the chair and the foam, and position together.


Once the foam is glued to the seat, flip the seat over foam side down and measure/cut the quilt batting. Make sure there is enough batting to cover the seat; I made the batting about 5 inches larger on each side than the size of the seat. Pull the batting around to the back of the chair and staple in place. I started on one side and just worked my way around. Make sure to pull the batting tight as you go. If you used an electric knife to cut the foam, you can probably skip the batting all together. But since I had jagged edges, the batting helps to smooth it all out.


Taking the same steps as the batting, use the seat as a guide and measure/cut the fabric to size. Again, pull the fabric edges around to the back and staple in place while making sure to pull the fabric tight as you go.


It is as simple as that! Then re-attach the seat to the chair and the chair has a whole new look!


I'm loving the bold geometric pattern on the chair and my bum is loving the extra padding :)

Thursday, March 10, 2011

Cuteness

Somebody likes hanging out on the new chair in my office :)

Dangit!

My office is [thisclose] to being complete. One of the final touches is a new office chair. Since I work from home a majority of the days, I need a chair that is comfortable enough to sit in for 8+ hours a day. I also need (yes, need :) ) a chair that looks pretty.

I visit thefoundary.com daily to check out their deals, so I was delighted when I found a pretty office chair in my price range on sale last week. I pulled the trigger immediately and the count down began for the arrival of my new chair! I was excited when Fedex arrived yesterday - only to be disappointed when Dan opened the package and found there was a missing part :(

How is a girl to sit in a chair that looks like this?

Wednesday, March 9, 2011

Good Bye Zebra

I love zebra print, so back in our apartment living days, it was an easy choice to cover our desk chair in zebra print to go with our black desk. But now the black desk lives in my office closet, holding the sewing machine, and the chair is going to live in my office as an extra seat (for my husband who complains he has nowhere to sit when he comes to my office to visit with me). Sadly, it was time to say good-bye to the zebra print.

Bye-bye zebra print


Hello green chair that matches my curtains:


Now that it is repainted and sitting in my office, I am kind of wishing I would have painted the chair black. I think it would have looked great against the curtains with the black trim. O well, I'll live with it for awhile and see if the white grows on me.

New Look

This blog needs a new look.  Sounds easy enough, right?!  WRONG!  Being a web designer, designing my own site/blog is the worst task to take on, I simply can not decide what I want to do!  **sigh**  So, for the time being it is going to look like this - plain and simple - until I figure out what I want the new look to look like!

Sunday, March 6, 2011

Latest Additions: Master Bedroom

Now that we have the walls painted in our master bedroom, it was time we started bringing in some artwork.  In true DIY fashion, I decided to paint a couple paintings for above our night stands.  I am a girl that loves clean, crisp lines - as you can tell by most of the patterns in our room.  To balance that out, I felt the paintings needed to be more abstract/free flowing. I forgot to take a good picture of just the paintings themselves, so this will have to do:


In addition to the painting, I also hung up a frame.  I knew I wanted the artwork above the nightstands to be large, but making the painting as large as the frames would have been too much color for the look I wanted to achieve.  The "empty" frames were the perfect solution - at least I like to think so :)  Dan also agreed and loves the look!  


The lamps are also a new addition, bringing in the perfect amount of sparkle/shininess/bling! 

The best part about a DIY project is when Dan gives me the big two thumbs up once it is complete.  I always run my ideas by him, but he can't visualize the same way I can, so I love it when he loves the end result!  

And one more great thing about completing a project - getting to cross it off the list!

Bedroom:

- make artwork for the walls
- get lamps for the nightstands
- get large floor mirror
- paint trays on nightstands
- paint and maybe recover the chair
- paint the side table by the chair
- paint the dresser
- accessorize
- paint the trim white

Trays

I picked up a couple serving trays at Ikea when we first moved in to our house, without having a purpose for them.  But, I knew I'd find a place to use them - and I did just that and love what a difference they make! 

Here they are in their before state, along with the materials I used to make them over.


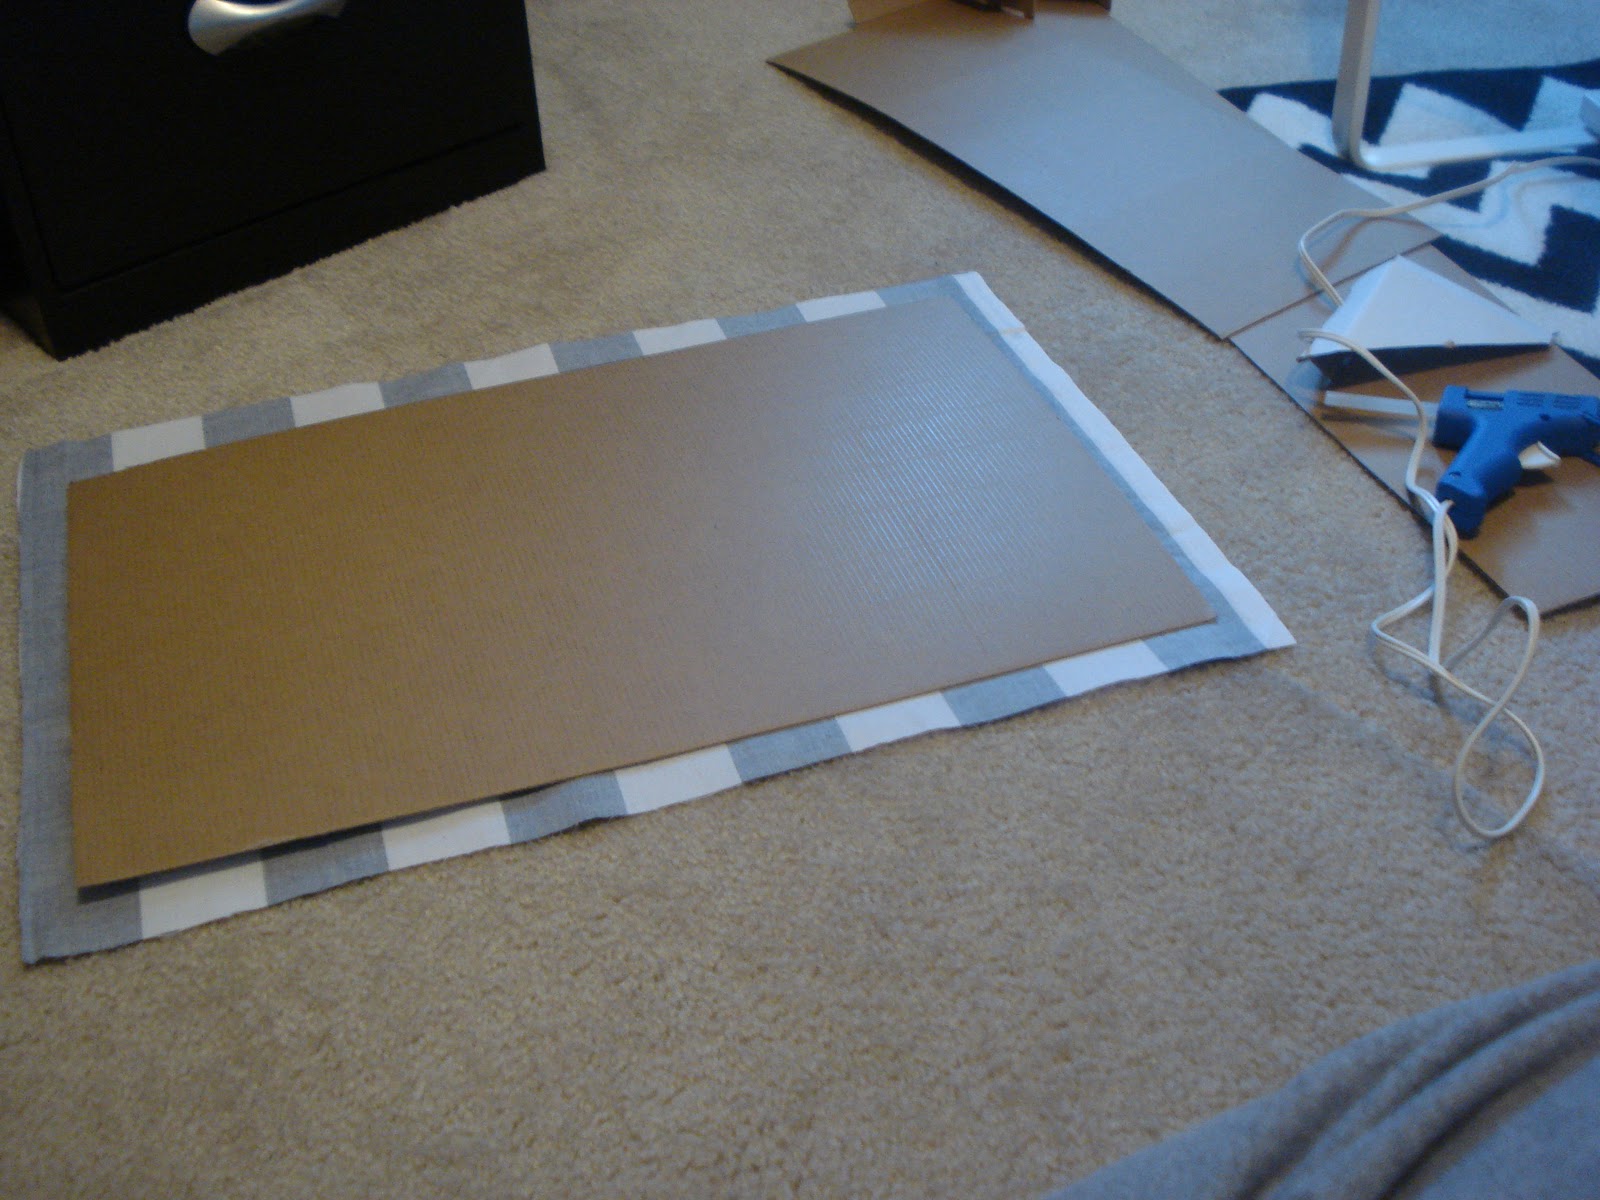
I wanted to add a pattern to the middle of the tray, but I wasn't completely sure what pattern I wanted to add so I needed to come up with a solution that wasn't going to be permanent.  So, I cut out two cardboard pieces to fit inside the trays and covered them with left over fabric from our bedskirt. It was incredibly simple: measure cardboard, cut to size, measure & cut fabric about an inch larger than cardboard, hot glue edges of fabric to back of cardboard & place inside the tray!


I also spray painted the trays black, to add some contrast to our night stands. 


Turns out, I love the stripes, so I probably won't be changing them anytime soon.  But, in the event that I do want to change them, it will be super simple!